EasyBuy Oneshop & COD Form: Guide to Setup and Use
The EasyBuy Oneshop & COD Form app is a powerful tool that simplifies your website's checkout process into a single page, while boosting sales with attractive multi-item discounts. This guide will walk you through the app's key features and configuration steps, helping you maximize its benefits.
Creating Forms and Setting Up Discounts
To create the one-page checkout form and set up discounts:
-
In your SHOPLINE admin panel, go to Apps > EasyBuy Oneshop & COD Form. Install the app if needed.
-
When using the app for the first time, click Bind products. Or, go to the Oneshop products management tab.
-
Click Create a Oneshop.
-
On the form creation page, fill in the following. You can preview the changes in real time on the right panel.
-
- Oneshop name: Provide a descriptive name for easy management.
-
Create promotions for this product: Click Select products to choose the product you want to create a one-page checkout for.
Note: Each product can only be linked to one one-page checkout form.
-
- Promotion method: Choose whether to set up a discount.
- No promotions: No discounts are applied.
- Discount on multiple pieces: Set up discounts for bundled quantities. You can edit or delete the default 1-3 piece discounts. To add more discount bundles, click Create a promotion. You can add up to 20 discounts per product.
- Promotion method: Choose whether to set up a discount.
-
Click Create.
- In the Publishing status column, enable the created form.
Enabling the EasyBuy App
To enable the app after creating a one-page checkout form:
-
In your admin panel, go to Online Store > Design.
-
Click on the Design button in the Current theme section.
-
On the product details page for the item linked to your configured one-page checkout form, go to the App embeds section, locate EasyBuy, and toggle it on.
- Click Save.
Configuring Supported Countries/Regions
To set up supported countries/regions for your forms:
-
In the EasyBuy app, go to Settings > Supported countries/regions and select the desired countries/regions from the dropdown menu. Then, click Save.
- The selected countries/regions will appear as options on the checkout form.
Customizing Form Styles
To customize the style of the one-page checkout form, follow the steps below:
-
In the EasyBuy Oneshop & COD Form app, go to the form editor tab.
- In the form editor, you can:
-
- Modify field texts and prompts
- Delete unnecessary fields
- Rearrange fields
- Customize buy button styles
- Add components
- Modify field texts and prompts
- After customizing the form, click Save.
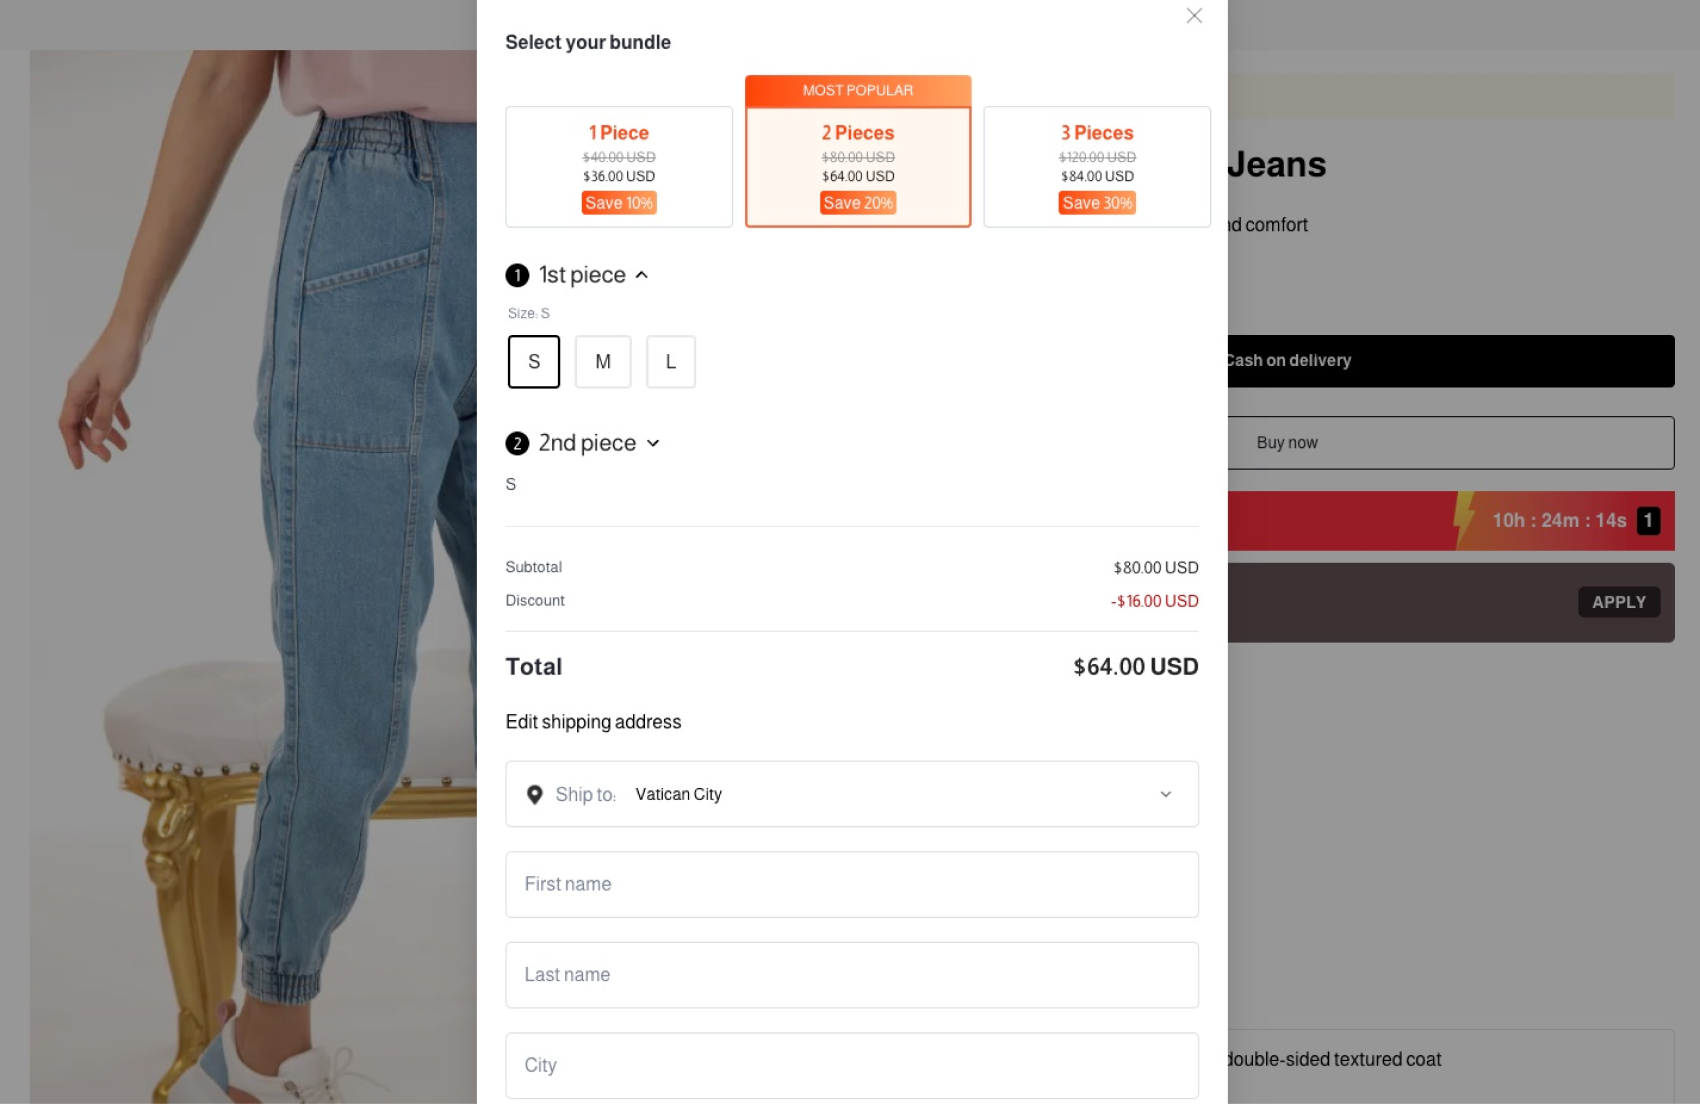
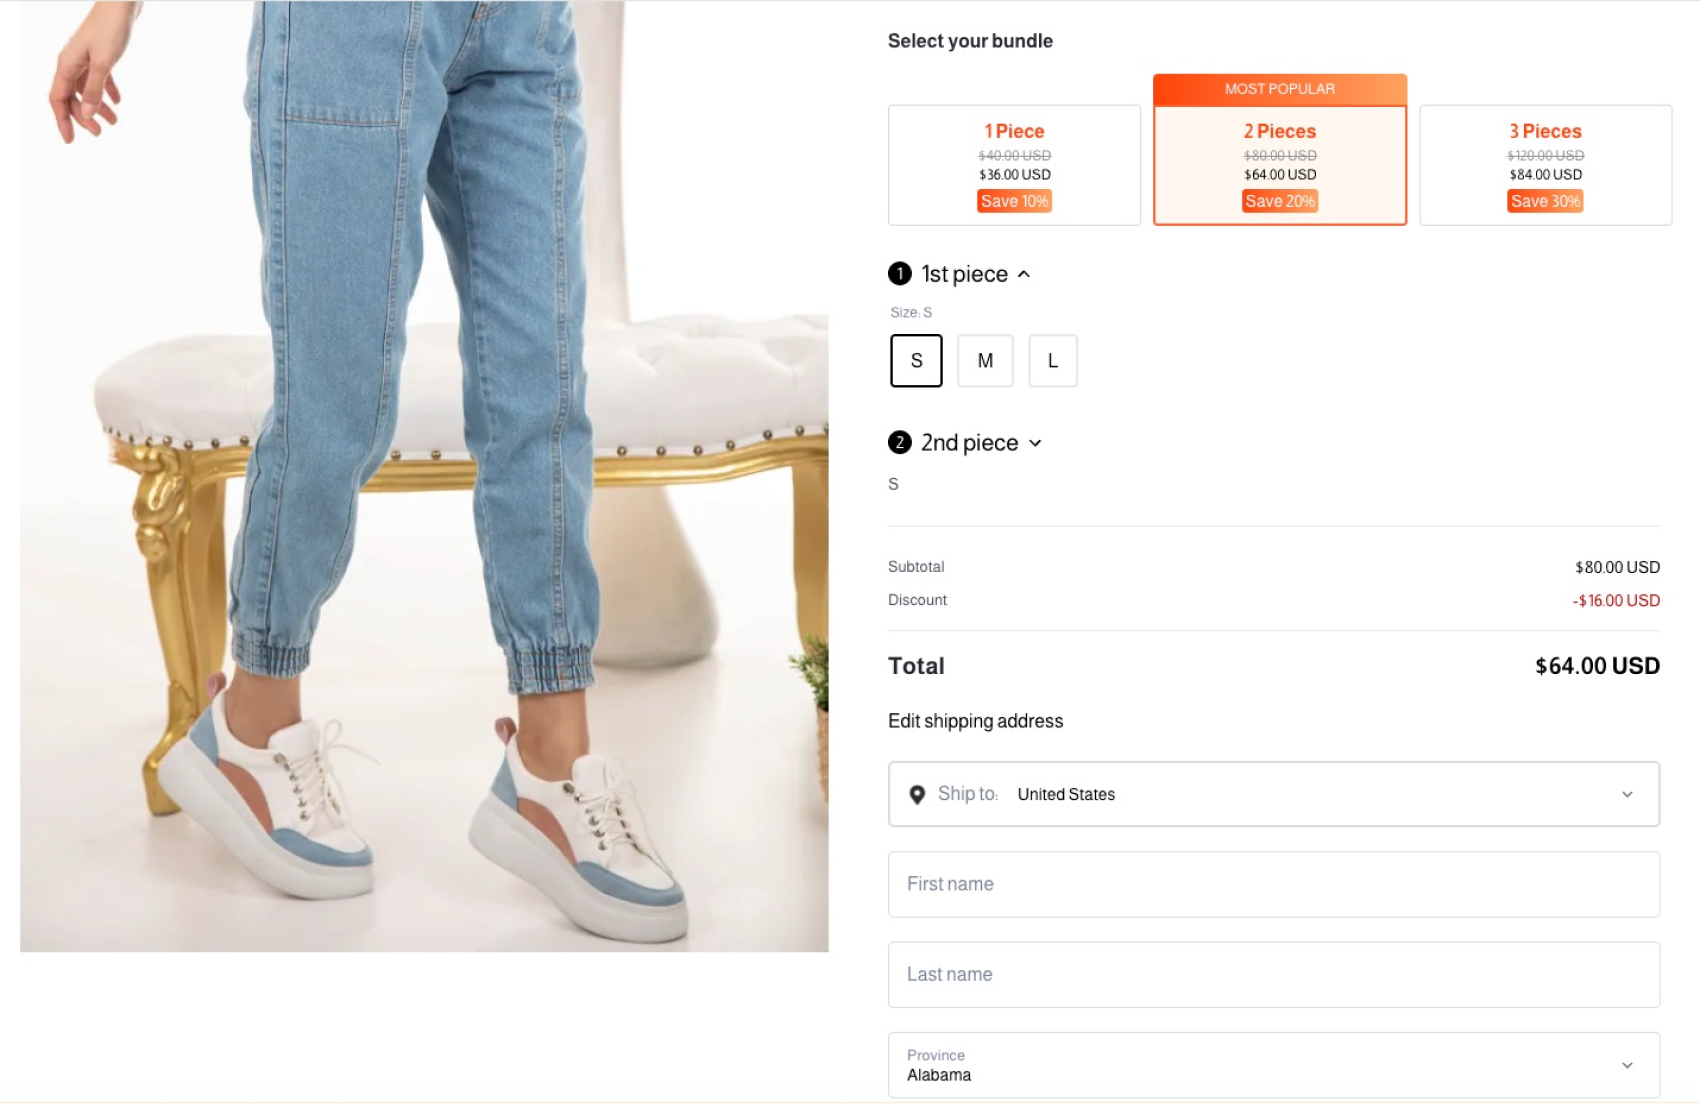
For more style options, go to the Settings tab. See examples of pop-up and built-in form styles below.
Pop-up form
Built-in form
Configuring Shipping Fees
To set up shipping fees for orders placed through the one-page checkout form and assign different fees for specific countries or regions, follow these steps:
| Note: If no shipping fee options are configured, customers will not be charged shipping fees at checkout. |
- In the EasyBuy Oneshop & COD Form app, go to Settings > Customize and click Create shipping fee. You can add up to 10 shipping fee plans.
- In the pop-up window, enter shipping fee information:
-
- Shipping fee name: Provide a clear and descriptive name that will be displayed to customers at checkout.
- Shipping fee description: Briefly explain the shipping fee to guide customer selection.
- Shipping fee: Enter the desired shipping fee amount.
- If you want the fee to apply only to specific countries or regions, check the Only applies to designated countries/regions option and select the desired areas. Otherwise, the fee will be applied to all orders.
- Click Complete to save the shipping fee settings.
- To prevent customers from placing orders if no shipping fee is available for their selected country/region, check Orders can't be placed if shipping method requirements aren't met.
- Click Save in the upper-right corner to apply your changes.
Displaying Shipping Fee Options
By default, the app automatically applies the first shipping fee in the checkout form. If you've configured multiple shipping fees and want to give customers the option to select between them, go to the form editor tab and click Add component to add the Shipping method component.
Setting Up Payment Methods
To ensure the payment methods are set up properly for your one-page checkout forms, follow these steps:
- In the EasyBuy Oneshop & COD Form app, go to Settings > Payment method settings.
- Select the desired payment method(s) and set discounts if needed.
Note: If enabling Cash on delivery in EasyBuy, please go to your admin panel > Settings > Payments > Custom payment method and ensure the Cash on Delivery option is activated. - Go to the form editor tab and customize COD and/or online payment buttons to attract customers.
Reviewing Sales Data
Analyzing data is key to boosting sales. In the EasyBuy app, you can review sales data by clicking the Homepage tab. The dashboard lets you:
- Select a time range using the date selector in the top right corner. You can customize the dates or choose from the predefined ranges in the left column.
- View sales data from different angles (Sales volume, Number of orders, Average order value) by clicking on each metric.